

Blog
Using Hard Wax for a Smooth Face with Sensitive Skin: Full Guide
Face waxing can be painful and scary overall. But sensitive skin is another challenge on the way to a smooth face. Irritation, bumps, redness, and discomfort can stop your clients from waxing and make them turn to shaving or even plucking, which doesn’t leave long-term results.
Fear not! This article will show you how to operate with hard wax on sensitive skin properly. And as you learn, you will notice that your customers continue coming back for another appointment.
Sensitive Skin Signs
It’s important to preface by saying that not all of your customers know that they have sensitive skin. Faces, in particular, can be a lot more susceptible to sun damage, irritation, and dryness, as it is thinner than on other areas of the body. When you apply a new product, it is easy to trigger new skin issues. So, it’s never the same condition for all customers. When waxing, however, you can notice these on your client:
- swelling;
- redness;
- bumps;
- skin lifting;
- hive-like reactions.
These are often seen on gentle skin types that are more reactive to outside factors. If the one on your waxing table reports burning and tingling, these can also be signs of sensitivity. That means you have to opt for different products and a new approach—and hard wax from brands like ItalWax is the way to go.
Why Choose Hard Wax?

- Hard wax usually comes in beads and doesn’t require any strips to work with. Its clear benefit is that it doesn’t stick to the skin nearly as much as soft wax does.
- Instead, it clings to the hairs when it hardens and only pulls them out when removed. There is also no stickiness or wax residue left on the client after the session.
- It’s great for small areas and suits facial zones well.
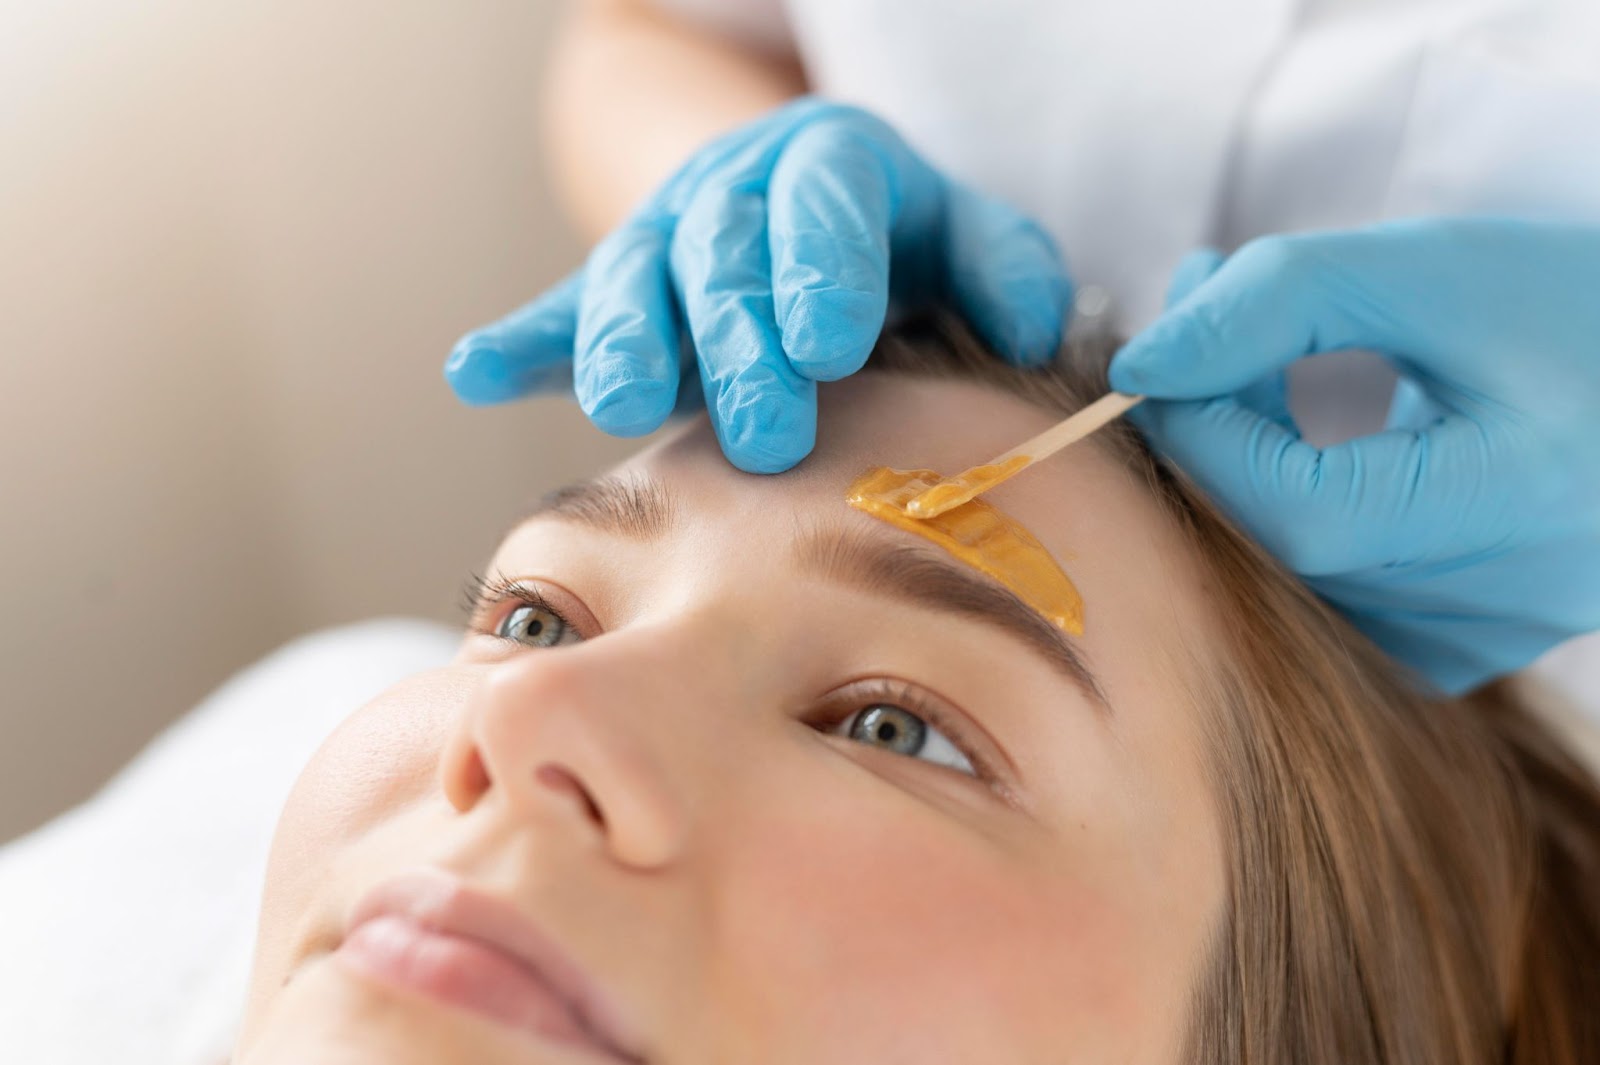
Waxing Process for Sensitive Skin
Step 1: Prepare the Wax
- Melt the wax to the temperature specified on the packaging.
- Allow it to cool to 80°F (26°C) for safe application on sensitive skin.
Step 2: Perform a Patch Test
- Apply a small amount of wax to the skin.
- Wait to check for any allergic reaction before proceeding with the full treatment.
Step 3: Apply the Wax
- Spread the wax in the direction of hair growth.
- Use disposable applicators (no double-dipping to prevent contamination).
- Keep the skin taut while applying the wax.
Step 4: Allow Hard Wax to Cool
- Wait until the wax is no longer hot or sticky before removal.
- Hard wax adheres to the hair as it cools, making it ready for removal.
Step 5: Remove the Wax
- Hold the skin taut to minimize discomfort.
- Pull off the wax against the direction of hair growth in one swift motion.
- Quick removal helps reduce pain during the process.
Step 6: Avoid Overapplication
- Do not apply wax multiple times on the same sensitive areas.
- Multiple applications can cause skin damage, especially on sensitive skin.
Sensitivity is No Longer an Issue
When you utilize the right tools and products, sensitive skin is no longer an issue—even if it’s on the client’s face. Hard wax is perfect for that, as it doesn’t stick to the surface of the skin and only holds onto the hair. Yet, it is best to let it cool a little before application and avoid treating the same patch twice to minimize irritation. When you are done, apply a cooling gel to calm the skin. Advise the client to use a cold compress when they are home to prevent any redness.