

Blog
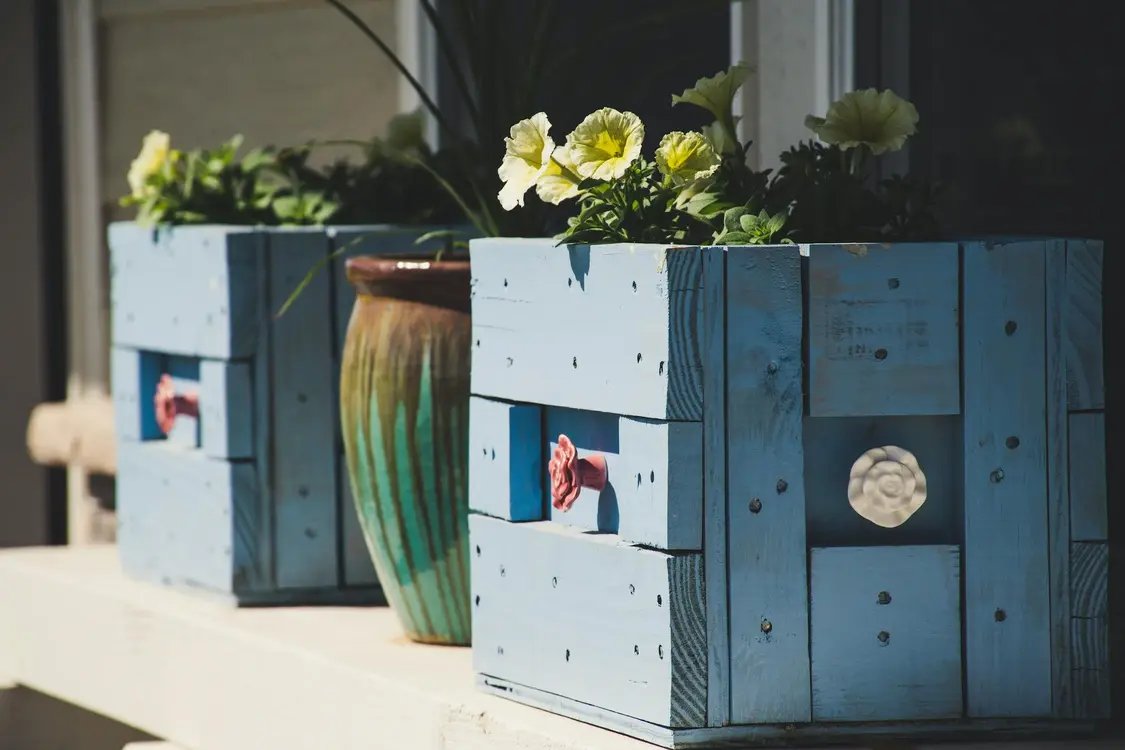
How to build a simple and inexpensive planter box
Building your own planter box can be done with just a few tools and boards. This guide explains every step in clear, simple language. Whether you are seven or seventy, you can follow along. I’m a gardener and woodworker. I’ve built over 30 planter boxes—in my backyard and with my own children helping. I’ll share expert tips I learned the hard way, plus a personal story of the time I split a board and how I fixed it.
Why a Planter Box Works
A planter box lets you grow flowers, herbs, or vegetables in a neat, raised space. Here is why it makes gardening easier:
- Keeps soil contained
- Raises plants off the ground, so less bending
- Improves drainage, stopping roots from rotting
- Can sit on a deck, patio, or balcony
- Looks neat and adds color to small spaces
Materials You Need
Gather these items before you start. You can find most at a home-improvement store or online.
| Item | Details |
|---|---|
| Wood boards | Four pieces 2×10 lumber, 8 feet long |
| Scrap board for bottom | 1×4 lumber, cut into slats |
| Wood screws | 2½-inch exterior-grade screws, 20 pieces |
| Drill with driver bits | Cordless drill makes work faster |
| Saw | Hand saw or circular saw |
| Tape measure | For accurate cuts |
| Pencil | To mark where to cut |
| Sandpaper | 120-grit for smoothing edges |
| Carpenter’s square | To keep corners square |
| Landscape fabric or liner | Keeps soil from leaking |
| Soil mix | Potting soil with compost |
| Wood sealant or paint | Water-resistant, safe for plants |
Expert Note
- Choose cedar or redwood if you can. They resist rot longer than pine.
- Pre-drill screw holes to avoid splitting boards.
- If you plan to grow food, pick a liner marked safe for edibles.
Dimensions and Cuts
This box will be 8 feet long, 2 feet wide, and 1-foot tall. You can change these sizes, but here are the parts you need:
| Piece | Cut Size | Quantity |
|---|---|---|
| Side board | 96″ × 10″ × 1.5″ | 2 |
| End board | 24″ × 10″ × 1.5″ | 2 |
| Bottom slat | 24″ × 3.5″ × 0.75″ | 8 |
How to mark and cut:
- Measure twice with tape measure and pencil.
- Use carpenter’s square to draw a straight line.
- Saw along the line, keeping the blade straight.
Step 1: Assemble the Frame
- Lay one long board flat on saw horses or a table.
- Position one short board at the end, flush with the edge.
- Check with square so the corner is a right angle.
- Drill two pilot holes through the side board into the end board.
- Drive in two screws.
- Repeat on the other end with the second short board.
- Flip frame and attach the other long board on top in the same way.
Pro Tip
- When I built my first box with my daughter, I forgot the square. The corner was off by half an inch, and the box twisted. Always check right angles as you go.
Step 2: Add Bottom Slats
The bottom slats let water drain out.
- Lay the assembled rectangle upside down.
- Place a slat across the width, 1 inch from one end.
- Drill pilot holes and screw down with two screws.
- Leave a 1/4-inch gap between each slat for drainage.
- Install all slats until you reach the other end.
| Slat Position | Distance from Edge |
|---|---|
| Slat 1 | 1″ |
| Slat 2 | 5″ |
| Slat 3 | 9″ |
| … | … |
| Last slat | 91″ |
Step 3: Sand and Seal
- Use sandpaper on all cut edges and surfaces you will touch.
- Wipe off dust with a dry cloth.
- Apply one coat of wood sealant or paint that is safe for plants.
- Let dry 24 hours before moving on.
Expert Advice
- I once skipped sealing. After one rainy week, the bottom slats warped. Sealing prevents that.
Step 4: Line the Box
A liner keeps soil from washing out.
- Cut landscape fabric to the inside size, leaving extra to fold over edges.
- Staple or tack the fabric so it lines all sides and bottom.
- Trim off excess fabric.
Step 5: Fill with Soil
Use a mix that holds water and drains well.
- Combine three parts potting soil, one part compost, and one part perlite.
- Fill box up to 2 inches below the top so you can water without spilling.
Step 6: Planting
Choose plants that match box depth and light.
- Flowers: marigolds, zinnias, petunias
- Herbs: basil, parsley, mint
- Veggies: lettuce, spinach, radishes
Planting steps:
- Make small holes in soil for roots.
- Gently set plants in place.
- Cover roots and press soil lightly.
- Water until soil is moist but not soggy.
Care and Maintenance
Keep your planter box healthy with regular care.
- Water when top inch of soil feels dry.
- Add more soil mix or compost each spring.
- Check screws each season and tighten if needed.
- Replace liner if it tears.
Table of Common Issues
| Issue | Cause | Fix |
|---|---|---|
| Wood splitting | Screws too close edge | Pre-drill holes farther in |
| Soil drying fast | Too much sun or wind | Add mulch or shade cloth |
| Plants wilting | Poor drainage | Check slat gaps, add gravel |
| Rotting wood | No sealant applied | Seal or use a rot-resistant wood |
Troubleshooting
- If corners feel loose, add a metal bracket inside each corner.
- If water pools, tilt box slightly or raise one end on a small block.
My Favorite Moment
One spring, my son and I planted strawberry seedlings in this box. Within weeks, we had red berries. He was so proud that he drew a picture of “our box” and taped it to the garage door.
Supply List
Gather these tools and materials before you begin:
- Nine cedar boards (8 feet long)
- Kreg pocket-hole drill jig
- Gate corner brackets
- Penofin exterior wood stain
- Four 4×4 posts
- Drill and driver bits
- Deck screws (exterior grade)
- Saw (circular or hand saw)
- Tape measure and pencil
- Sandpaper (120-grit)
- Landscape fabric or liner
- Potting soil, compost, and soil amendments
Why Use Cedar?
Cedar is an excellent choice for planter boxes because:
- It resists insects naturally, protecting your plants
- It rots more slowly than many other woods
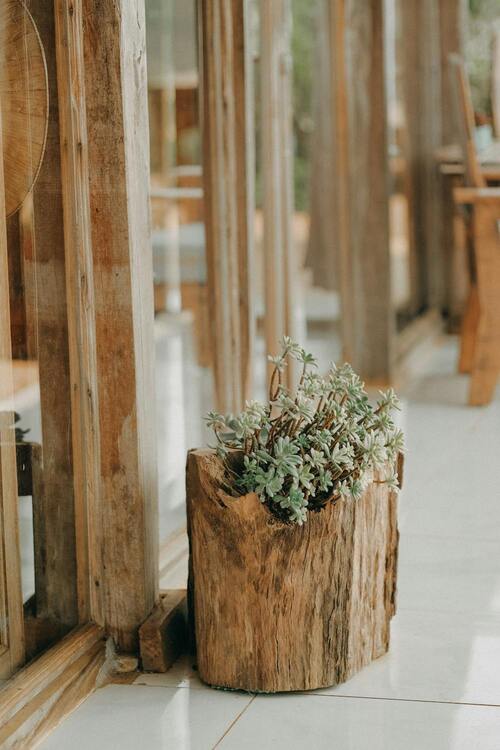
- It weathers to a warm, classic look over time
Firmer woods like fir resist warping and splitting a bit better, but cedar’s insect resistance and rot protection make it ideal for both decorative flowers and edible gardens.
Prepare Your Boards
- Lay out your nine cedar boards and measure twice before cutting.
- Trim ½ inch off each end for clean, even lengths.
- Cut three boards in half—these shorter pieces will become the ends of the box.
- Stack three full-length boards to determine the box height (ours stacked to about 15 inches).
- Cut four 4×4 posts to match that height.
When you’re done, you’ll have:
- 6 side-length boards
- 3 end-length boards
- 4 posts at your chosen height
Creating the Box Frame
- Position two posts upright, spaced to match the length of a side board.
- Attach a side board to the posts using deck screws, pre-drilling holes to prevent splitting.
- Repeat with the opposite side board and the same two posts.
- Add an end board between the two side boards at one corner, securing with screws.
- Finish the first layer by adding the final end board on the other side.
- Repeat these steps for the second and third layers until the box reaches full height.
Build the box where it will live—once assembled, it can be heavy and awkward to move.
Staining and Finishing
- Lightly sand all exposed surfaces to remove splinters.
- Wipe off sanding dust with a dry cloth.
- Apply two coats of Penofin stain to the outside faces only, keeping the inside untreated for your organic soil.
- Allow 24 hours of drying time between coats.
Sealing the wood prevents warping and protects against moisture.
Lining and Filling
- Cut landscape fabric to the interior dimensions, leaving extra to fold over the top edges.
- Staple or tack the fabric in place on all sides and bottom.
- Trim any excess fabric.
- Fill the box with a mix of three parts potting soil, one part compost, and one part perlite.
- Leave 2 inches of space below the rim for easy watering.
Starting Seeds Indoors
- Begin in January or February for an early spring garden.
- Use greenhouse trays with humidity domes to keep moisture steady.
- Jiffy peat pellets make transplanting easy and reduce root shock.
- Label your seedlings with vintage zinc plant markers for a charming, long-lasting tag.
Final Thoughts
Building a planter box takes time, but it is easy when you break it into steps. Anyone can do it, even with simple tools. Use the tips above to avoid mistakes and enjoy growing your own plants in a sturdy, low-cost box.